Intro
A few days ago an idea was born in my head 💡
How can I make Intune-App-Sandbox more available to everyone?
It’s PowerShell so the most suitable form is PowerShell module 📦.
Prepare your module
It’s my first 100%, build from scratch module so I had to start with the basics such as module components and types :
A module is made up of four basic components:
- Some sort of code file - usually either a PowerShell script or a managed cmdlet assembly.
- Anything else that the above code file may need, such as additional assemblies, help files, or scripts.
- A manifest file that describes the above files, as well as stores metadata such as author and versioning information.
- A directory that contains all of the above content, and is located where PowerShell can reasonably find it.
Note that none of these components, by themselves, are actually necessary. For example, a module can technically be only a script stored in a .psm1 file. You can also have a module that is nothing but a manifest file, which is used mainly for organizational purposes. You can also write a script that dynamically creates a module, and as such doesn’t actually need a directory to store anything in. The following sections describe the types of modules you can get by mixing and matching the different possible parts of a module together.
After reading this I knew what had to be done.
- Create functions for
Add-SandboxShellandUpdate-SandboxShelland place them in folder calledPublic. - Other scripts and files which are true heart 💖 of
Intune-App-SandboxI’ve placed in Configuration and Helpers folders. - Create module manifest with:
$Description = 'This tool is for testing Powershell Script which is packed using Win32 Content Prep Tool for installing software using Win32 Deployment profile in Intune.'

New-ModuleManifest -Path .\Intune-App-Sandbox.psd1 -ModuleVersion '1.2' -Author 'Maciej Horbacz' -Description $Description
- Create
PowerShellmodule file which exports functions
$Public = @(Get-ChildItem -Recurse -Path $PSScriptRoot\Public\*.ps1 | Where-Object { $_ -notmatch '\.Examples.ps1' })

foreach ($import in $Public) {
 try {
  . $import.fullname
 } catch {
  Write-Error -Message "Failed to import function $($import.fullname): $_"
 }
}

Export-ModuleMember -Function $Public.Basename
Test your module
Before uploading anything into public domain be sure to test it somehow locally (yes, it’s to me from the past).
Thankfully you can do that with PowerShell modules.
Create folder somewhere on your drive e.g. C:\LocalRepo, this will be the path to your local repository.
Then you need to register it like that:
Register-PSRepository -Name LocalRepo -SourceLocation 'C:\LocalRepo\' -ScriptSourceLocation 'C:\LocalRepo\' -InstallationPolicy Trusted
Now you can publish any module to your local repository!
# Publish to a file share repo - the NuGet API key must be a non-blank string

Publish-Module -Path 'c:\projects\MyModule' -Repository LocalRepo -NuGetApiKey 'AnyStringWillDo'
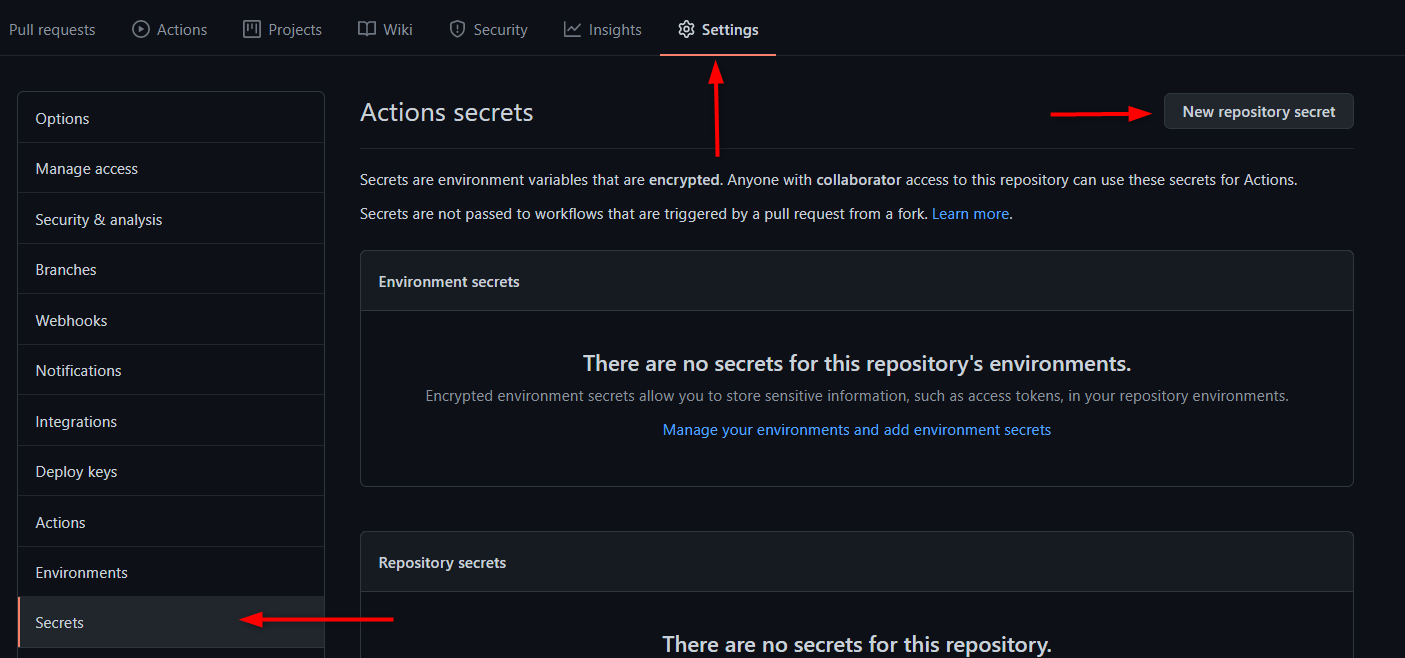
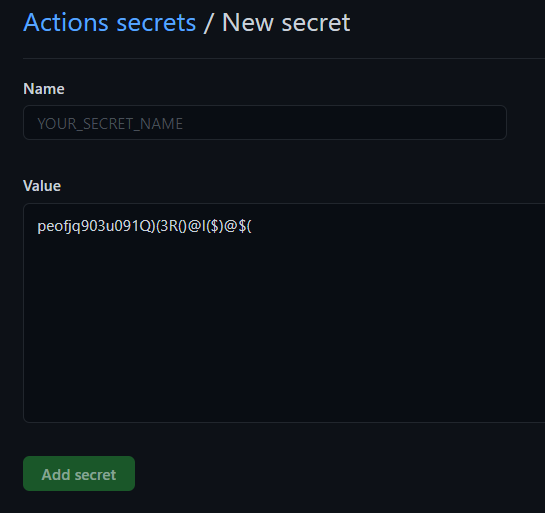
Get PSGallery secret
Create or sign in to your account on PowerShell Gallery and go to API Keys
Copy generated key and safely store it in your repository secrets
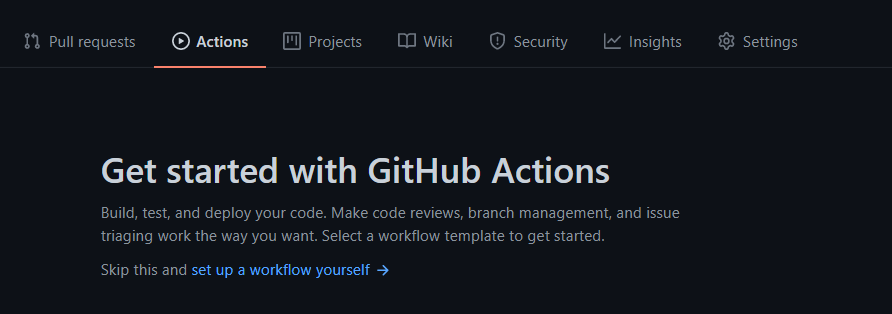
Create workflow
Github actions workflows are stored at repo location .github/workflows in YAML file.
The easiest way to start building your workflows is to creating one from Actions tab
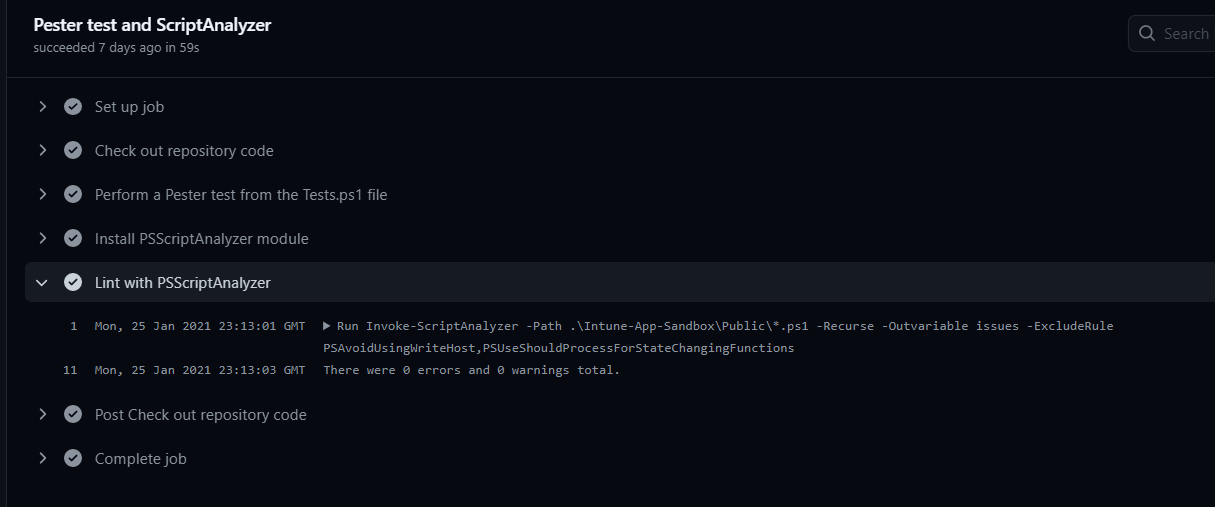
Before publishing check if your code is holding up to the all good practices out there.
To be sure my first workflow tests my code with PSScript Analyzer and Pester with every commit to master branch
name: Test PowerShell on Windows
on: push

jobs:
  tests:
    name: Pester test and ScriptAnalyzer
    runs-on: windows-latest
    steps:
    - name: Check out repository code
      uses: actions/checkout@v2
    - name: Perform a Pester test from the Tests.ps1 file
      shell: pwsh
      run: |
        Invoke-Pester .\tests\Unit.Tests.ps1 -Passthru
    - name: Install PSScriptAnalyzer module
      if: success()
      shell: pwsh
      run: |
            Set-PSRepository PSGallery -InstallationPolicy Trusted
            Install-Module PSScriptAnalyzer -ErrorAction Stop
    - name: Lint with PSScriptAnalyzer
      if: success()
      shell: pwsh
      run: |
            Invoke-ScriptAnalyzer -Path .\Intune-App-Sandbox\Public\*.ps1 -Recurse -Outvariable issues -ExcludeRule PSAvoidUsingWriteHost,PSUseShouldProcessForStateChangingFunctions
            $errors   = $issues.Where({$_.Severity -eq 'Error'})
            $warnings = $issues.Where({$_.Severity -eq 'Warning'})
            if ($errors) {
                Write-Error "There were $($errors.Count) errors and $($warnings.Count) warnings total." -ErrorAction Stop
            } else {
                Write-Output "There were $($errors.Count) errors and $($warnings.Count) warnings total."
            }
After you make sure that it passed the tests you can publish it!
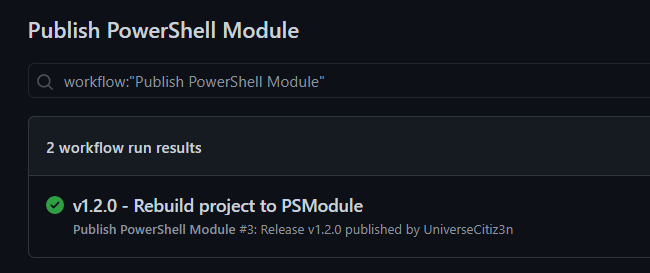
This is where my second workflow comes in
name: Publish PowerShell Module

on:
  release:
    types: [published]

jobs:
  publish-to-gallery:
    runs-on: windows-latest
    steps:
    - uses: actions/checkout@v2
    - name: Build and publish
      env:
        NUGET_KEY: $
      shell: pwsh
      run: |
        .\build\build.ps1
        Publish-Module -Path .\Intune-App-Sandbox -NuGetApiKey $env:NUGET_KEY -Verbose
Note: build.ps1 script makes sure that NuGet provider is present and PSGallery is trusted repository
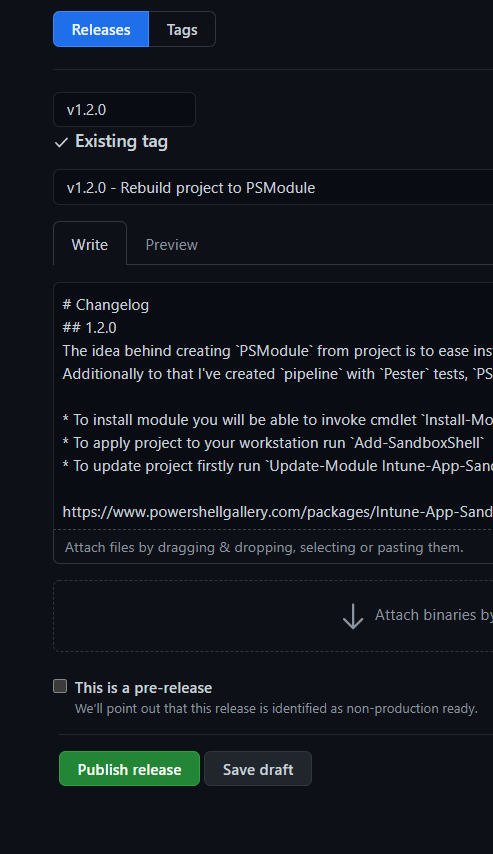
This workflow run only when repository is published as release.
That’s all! 🥳
Summary
From now on Intune-App-Sandbox is available as PowerShell module!
All you need to do is
Install-Module 'Intune-App-Sandbox'
See you in next! 😉 🧠