Browser automation with Selenium - use cases
Intro
In this post I am going to show you some use cases of Selenium in automating browser where API is unavailable or not enough. Before we continue please be sure to check first steps in using this testing framework via Powershell - How to use Selenium via Powershell
😉
…ok, done reading? Let’s roll!
Signing in
What I’m about to show you might not be the most clever way to pass credentials at websites but it works in controlled environment. Just like in introduction most of the times we have:
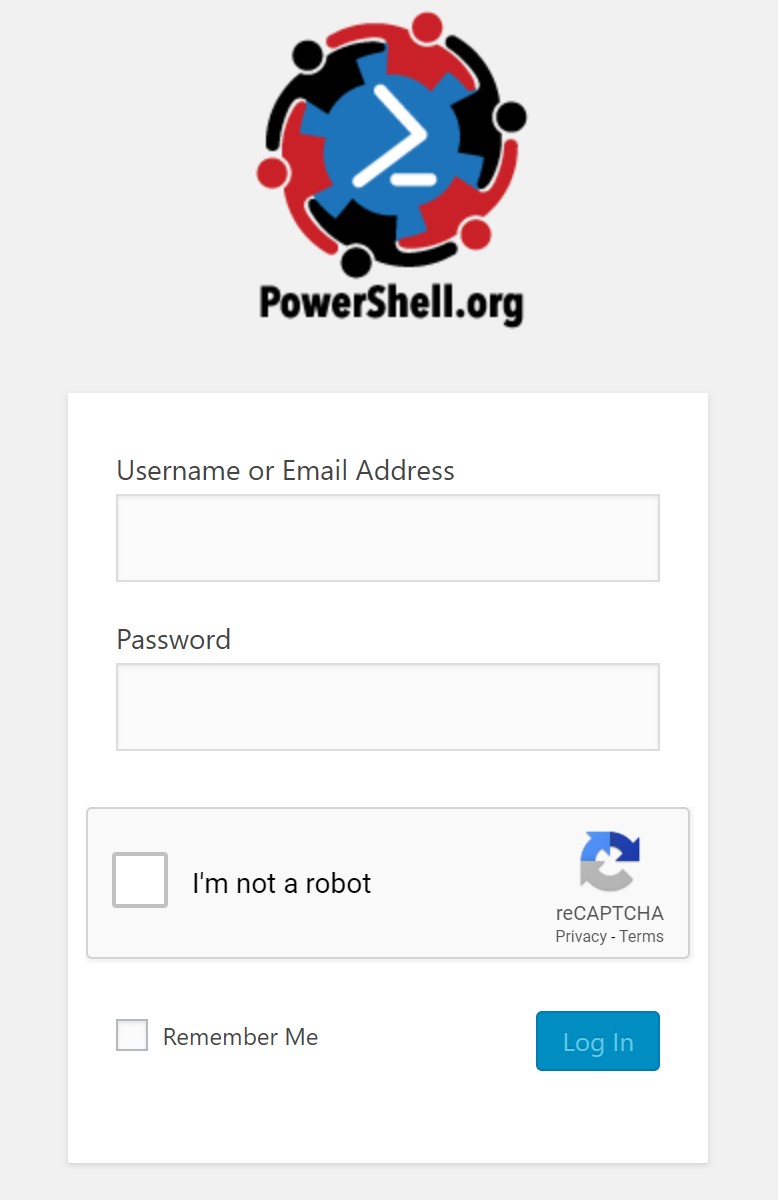
So we need to fill username, password and captcha but there is no trick to that.
$Credential = Get-Credentials
$BSTR = [System.Runtime.InteropServices.Marshal]::SecureStringToBSTR($Credential.Password)
$PlainPass = [System.Runtime.InteropServices.Marshal]::PtrToStringAuto($BSTR)

$ChromeDriver.FindElementsById('user_login').SendKeys($Credential.UserName)
Start-Sleep 1
$ChromeDriver.FindElementsById('user_pass').SendKeys($PlainPass)
Start-Sleep 30 #Wait for user to pass captcha
$ChromeDriver.FindElementsById('wp-submit').Click()
I’ve created PSCredential variable and to be able to fill in password field we need to decipher it. Without those steps you will be entering System.Security.SecureString which obviously is not your password, or is it? 🤔
Regarding captcha the only way is to pause script until user passes the test.
Tables on sites
Great example of table which required help of Selenium is permission table in Confluence Spaces.
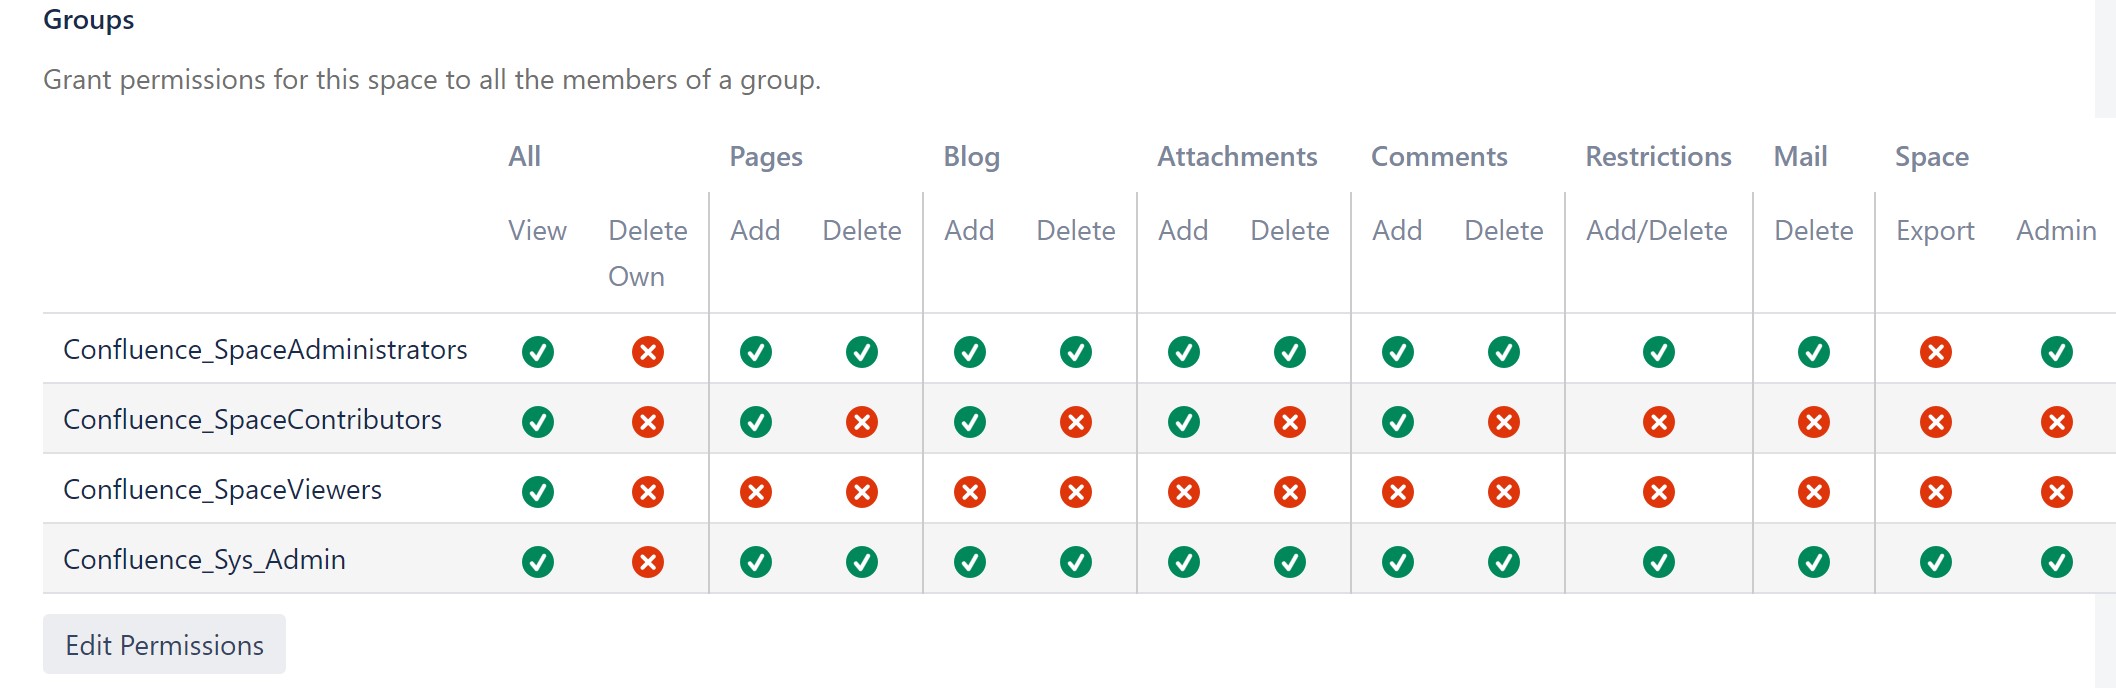
I were not able to change them using module ConfluencePS but thanks to that code it became piece of cake! In this example I’m adding new group to permissions list and ticking checkboxes to resemble Admin permissions
#Adding new group to permissions list
$ChromeDriver.FindElementById("groups-to-add-autocomplete").SendKeys("Conf_GroupName_Admin")
Start-Sleep -Milliseconds 500
#Clicking Add button
$ChromeDriver.FindElementByXPath('//*[@id="space-tools-body"]/form/div/div[3]/input[2]').Click()
#Loop ticking checkboxes
for ($i = 4; $i -le '13'; $i++) {
    $ChromeDriver.FindElementByXPath("//*[@id='gPermissionsTable']/tbody/tr[3]/td[$i]/input").Click()
}
#One last checkbox
$ChromeDriver.FindElementByXPath('//*[@id="gPermissionsTable"]/tbody/tr[3]/td[15]/input').Click()
#Saving all the changes
$ChromeDriver.FindElementByXPath('//*[@id="space-tools-body"]/form/div/div[9]/input[1]').Click()
You can see that in a loop I’m only clicking boxes where cell number is equal $i. I’ve checked that first box which interests me has number 4 and I need to check every box until 13 and then box 15. At the end don’t forget to Save all changes 😉
Files
During my automation journey the need to download and upload files was bound to come sooner or later.
Downloading is easy and there is nothing new, just find Download button and click on it!
Uploading a file took me a some time to figure out but it turned out easy too!
#Find upload button and then send path to file
$ChromeDriver.FindElementsById('file').SendKeys('C:\Temp\14853163_141016446369733_5206568431232995795_o.jpg')
#CLicking on image convert button
$ChromeDriver.FindElementById('convert-button').Click()
Trick to that was just to send file path to upload element on website.
Summary
I hope that those few use cases will help you in feeling Selenium vibe and you will be able to apply them in your automation tasks!
See you in next! 😉 🧠