Intro
Using service accounts is one way to manage environment beside Azure Service Principals.
Having privileged account which password is not changed won’t pose a great threat (unless the password is 1234 😵) but it is attack vector.
Alright let’s assume that someone guessed password. If this account has e.g. Global Administrator role then you are immediately F🦆ed. Otherwise it’s not great but under control.
Such accounts MUST be secured using top-notch, cutting edge technology.
With help comes Azure KeyVault 🔐 and Azure AD Privileged Identity Management 👮🏻♂️.
Prerequisites
Azure AD Privileged Identity Management- Using this feature requires an Azure AD Premium P2 license.Azure KeyVault- Anybody with an Azure subscriptionAzure Automation- Anybody with an Azure subscription. First 500 minutes per month are FREE then $0.002/minute- (Optionally but recommended)
Azure DevOps Repository- If you’re a Visual Studio subscriber and you get Azure DevOps as a benefit, use the Microsoft account associated with your subscription. If you don’t have a Microsoft account, choose Create one.
Privilaged Service Account Management
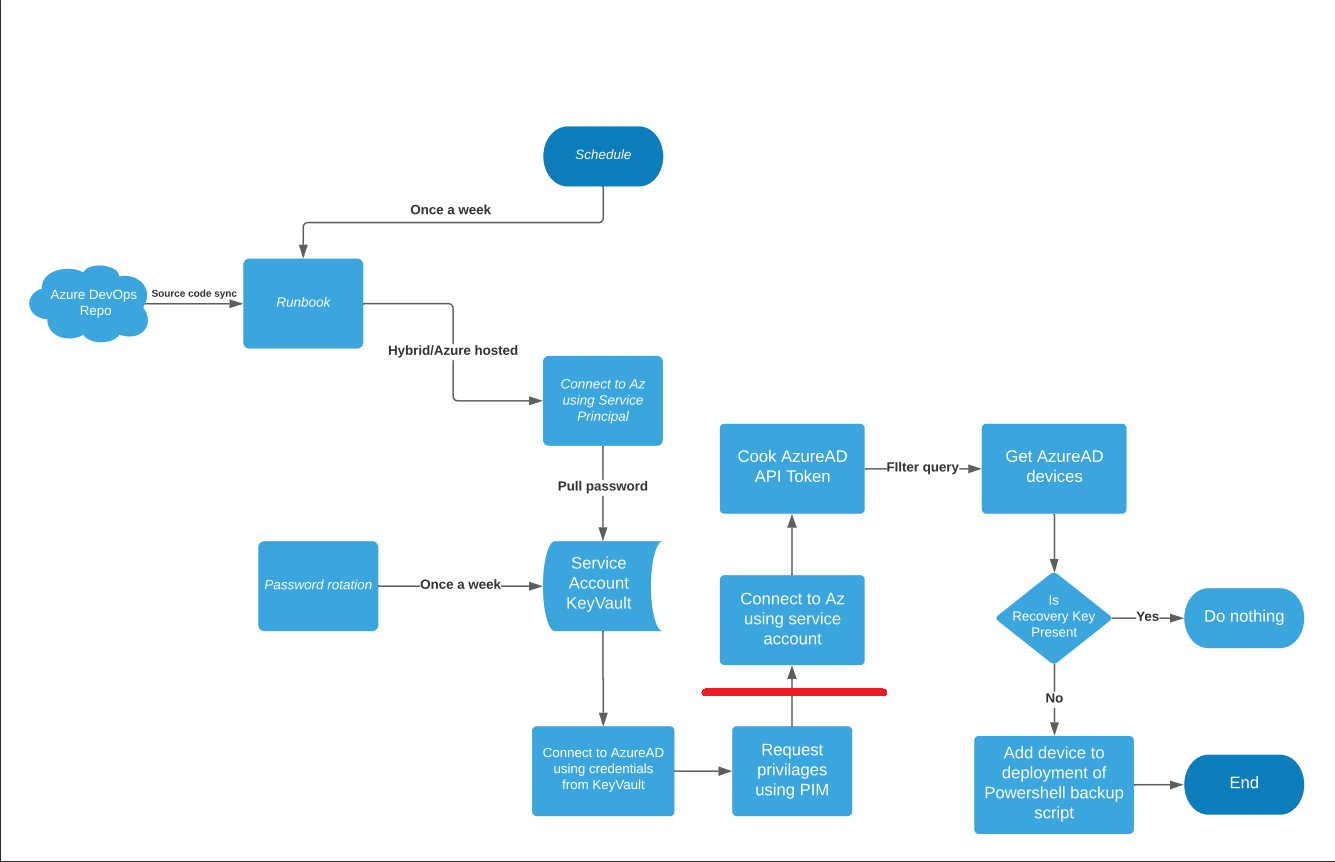
On the flow chart above PSAM solution ends at the red line, behind it you implement your job that automation account was created for.
In my example I’m checking Azure AD for Bitlocker Recovery Keys and then taking action depend on outcome of validation script.
Let’s break it down and dive in into step-by-step configuration.
Azure KeyVault
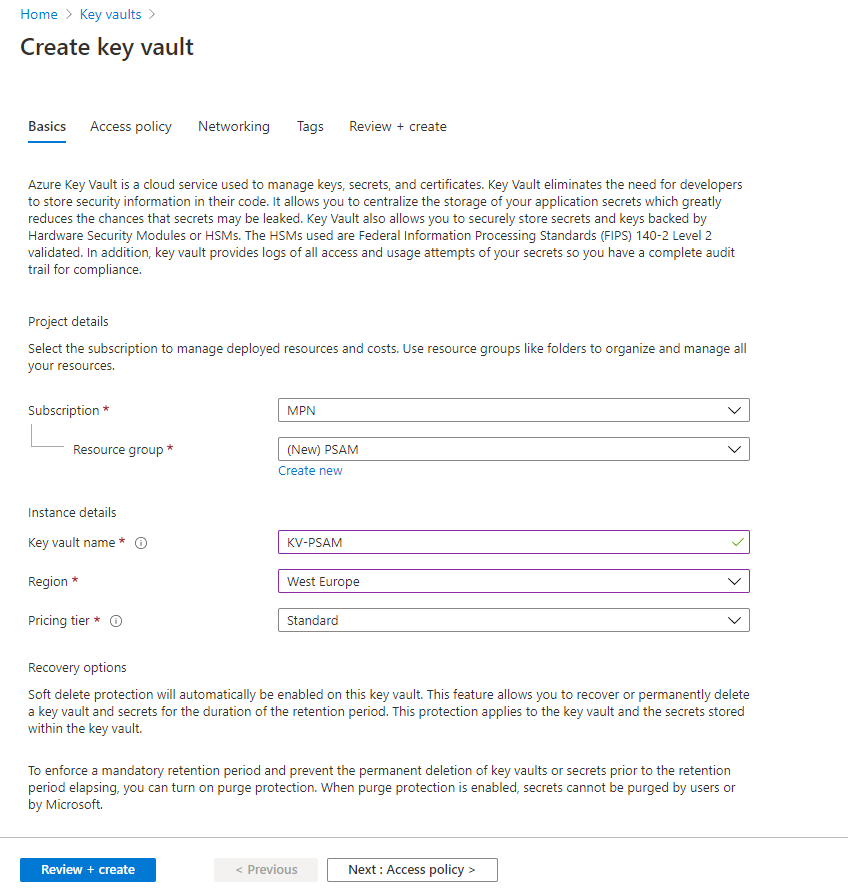
We can start with creating Azure KeyVault.
It will store credentials for your Service Account.
Go to Azure KeyVault and fill out creation form.
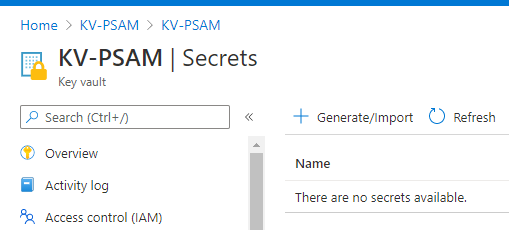
With KeyVault created you can then add entry for your service account.

Note: To implement KeyVault secrets rotation I’m inviting you to use your favorite search engine and use one of the available implementations online
Azure Automation
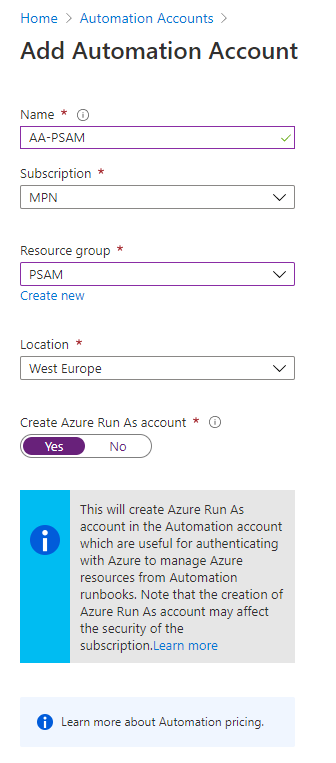
Next step is to create Azure Automation Account.
Azure Automation allows you to create and run Runbooks that process provided code e.g. Powershell.
Go to Azure Automation Account and fill out creation form.
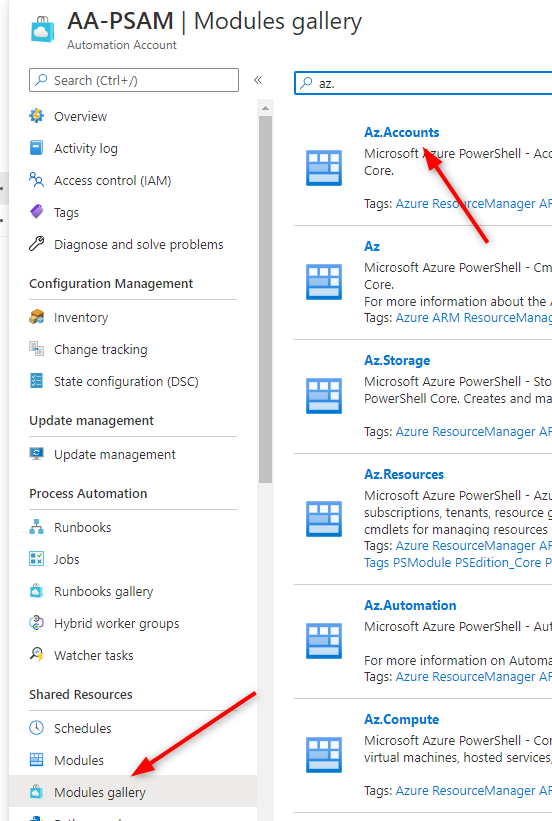
For purposes of PSAM you will need to add 3 Powershell modules to your Azure Automation:
- Az.Accounts
- Az.KeyVault
- AzureADPreview
Key component of Azure Automation is AzureRunAsAccount
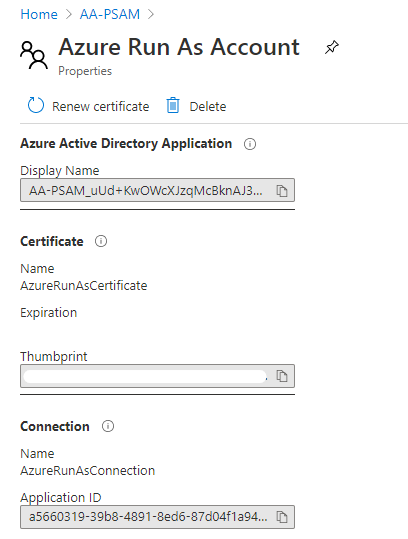
Adding this application to resources permissions you will be able to automate many aspects of Azure cloud.
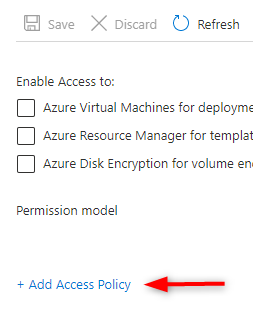
We need to be able to Read KeyVault secrets so lets do that.
Go back to your KeyVault and proceed to Access Policies blade and click on Add Access Policy.
In next step select secrets permissions
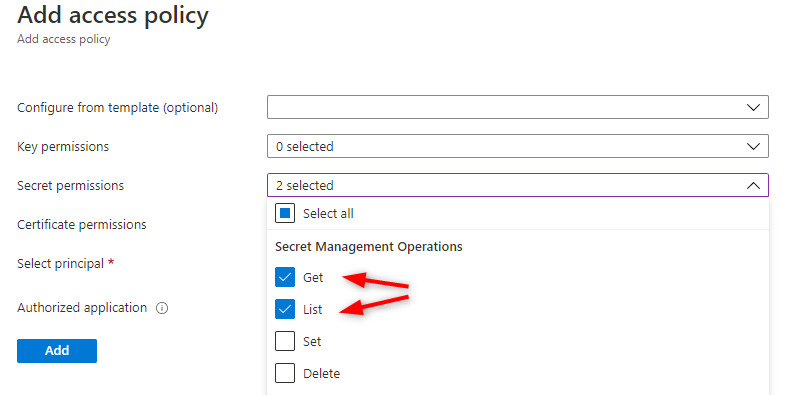
Select your AzureRunAsAccount as principal
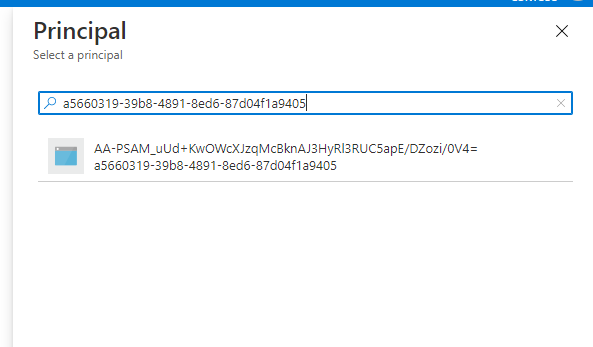
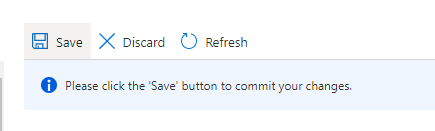
And do not forget to click Save!!
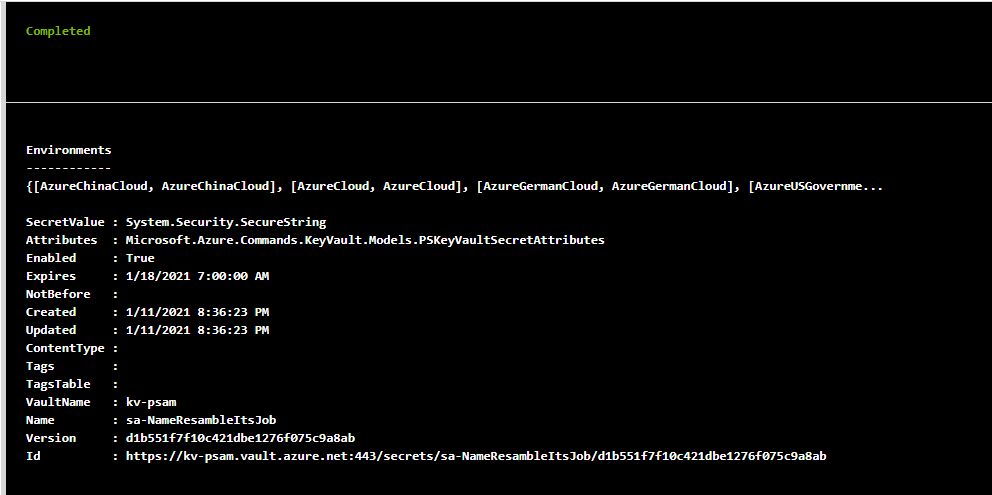
To get secret from KeyVault in Powershell runbook you just need to paste
$AzureRunAsConnection = Get-AutomationConnection -Name 'AzureRunAsConnection'

Connect-AzAccount -CertificateThumbprint $AzureRunAsConnection.CertificateThumbprint -ApplicationId $AzureRunAsConnection.ApplicationId -Tenant $AzureRunAsConnection.TenantId -ServicePrincipal

$secret = Get-AzKeyVaultSecret -VaultName 'KV-PSAM' -Name 'sa-NameResambleItsJob'

$secret

#The same goes for connecting to AzureAD
#Connect-AzureAD -TenantID $AzureRunAsConnection.TenantId -ApplicationId  $AzureRunAsConnection.ApplicationId -CertificateThumbprint $AzureRunAsConnection.CertificateThumbprint
And you should be able to see results like
Azure DevOps repository
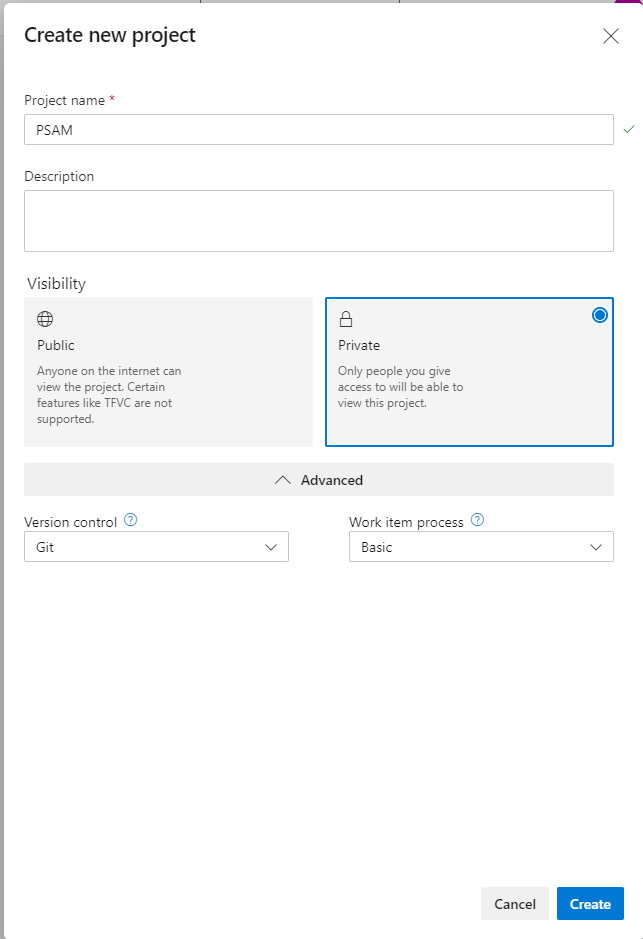
Now that you’ve got automation to run your scripts, create repository for them 🧱. Go to Azure DevOps and create a new project if you don’t have one.
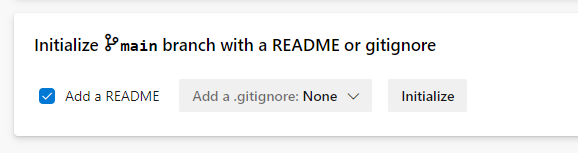
Initialize a new repo
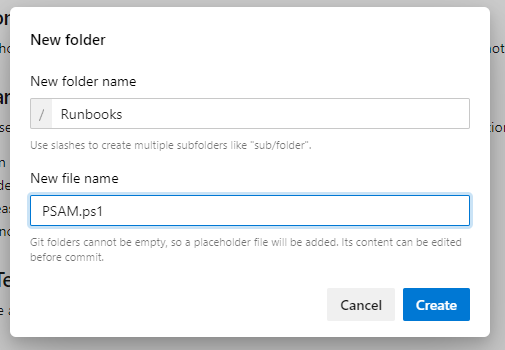
Then create a new folder and file within
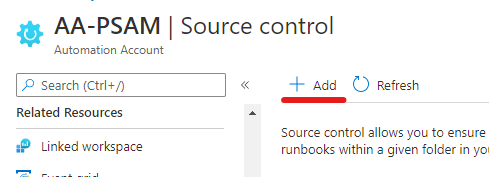
Go back to your Automation Account and procced to Source Control blade and click Add
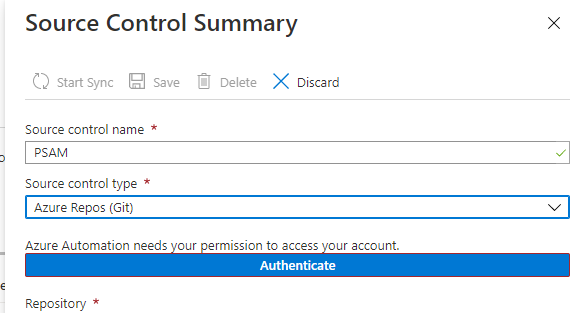
Click authenticate to connect to DevOps
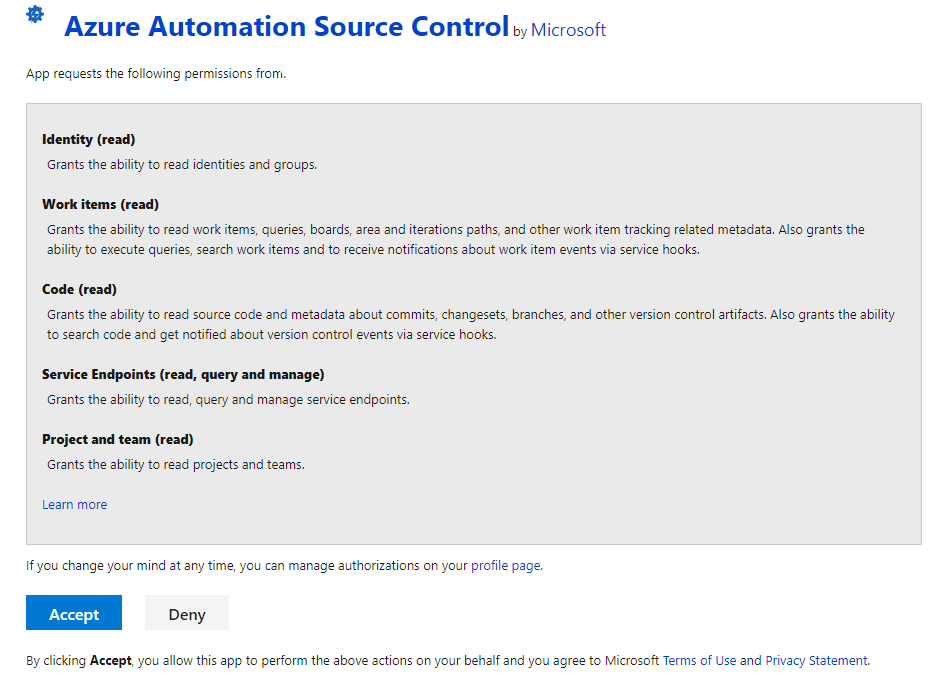
Fill out the rest of the form
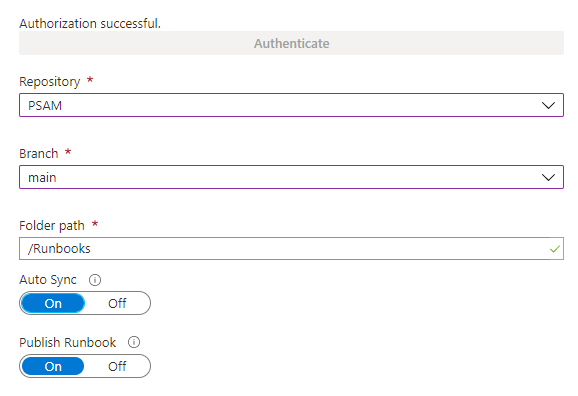
Note: Remember to set Publish runbook to Yes. Otherwise you will have to publish after every sync manually.

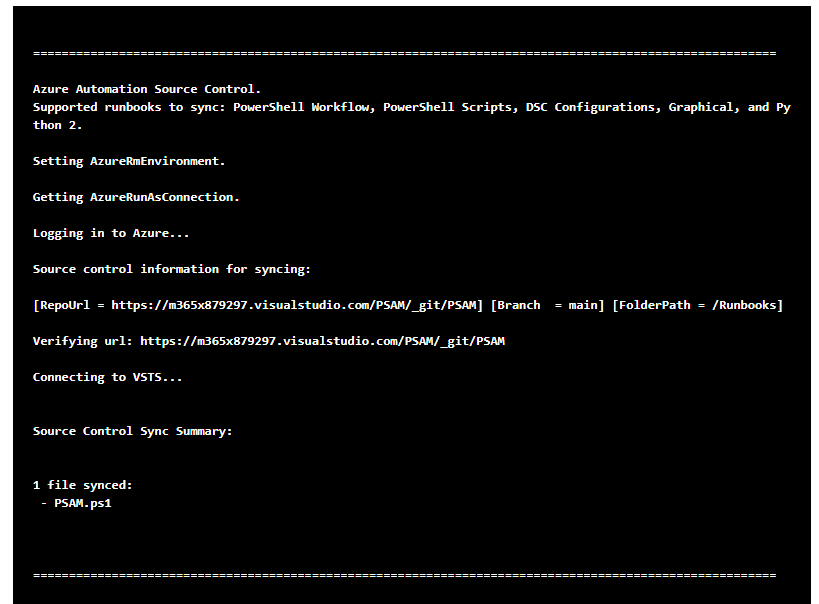
This is how sync should look like
Azure AD Privileged Identity Management
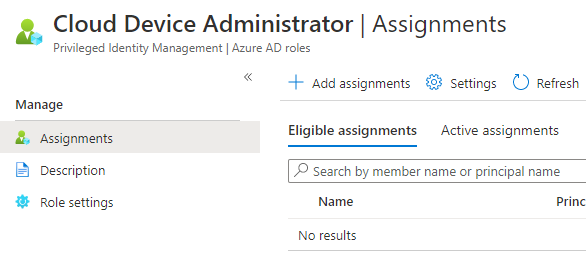
Finally you can assign desired role to service account. Go to Privileged Identity Management | Azure AD roles and select a role.
Click Add assignments
Select your service account
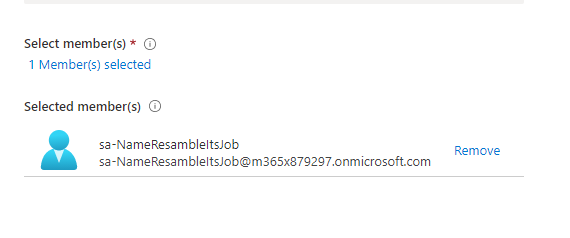
Proceed with Assign
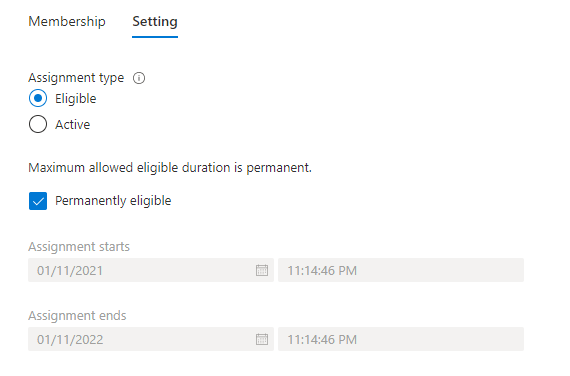
One last thing you will need from that blade is roleID. The fastest way is to copy it from address bar

Final
If you are reading this it means that you’ve gone through preparation steps of PSAM! 🥳 Now it’s time for the frosting of our cupcake 🧁.
To read secret and request role using PIM you need to run:
$AzureRunAsConnection = Get-AutomationConnection -Name 'AzureRunAsConnection'
Connect-AzAccount -CertificateThumbprint $AzureRunAsConnection.CertificateThumbprint -ApplicationId $AzureRunAsConnection.ApplicationId -Tenant $AzureRunAsConnection.TenantId -ServicePrincipal
$secret = Get-AzKeyVaultSecret -VaultName 'KV-PSAM' -Name 'sa-NameResambleItsJob'
$Password = $secret.SecretValue
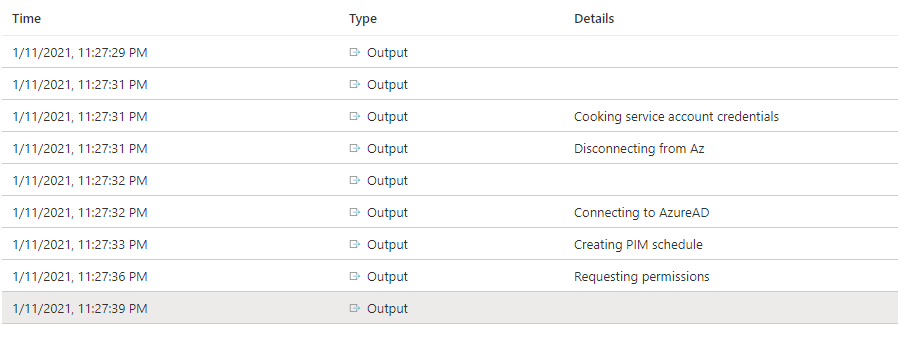
'Cooking service account credentials'
$saCredentials = New-Object System.Management.Automation.PSCredential -ArgumentList ('[email protected]', $Password)
'Disconnecting from Az'
Disconnect-AzAccount
Import-Module AzureADPreview
"Connecting to AzureAD"
Connect-AzureAD -Credential $saCredentials | out-null
'Creating PIM schedule'
$roles = Get-AzureADMSPrivilegedRoleDefinition -ProviderId aadRoles -ResourceId $AzureRunAsConnection.TenantId
$schedule = New-Object Microsoft.Open.MSGraph.Model.AzureADMSPrivilegedSchedule
$schedule.Type = "Once"
$schedule.StartDateTime = (Get-Date).ToUniversalTime().ToString("yyyy-MM-ddTHH:mm:ss.fffZ")
$schedule.endDateTime = (Get-Date).AddMinutes(30).ToUniversalTime().ToString("yyyy-MM-ddTHH:mm:ss.fffZ")
"Requesting permissions"
Open-AzureADMSPrivilegedRoleAssignmentRequest -ProviderId 'aadRoles' -ResourceId $AzureRunAsConnection.TenantId -RoleDefinitionId '7698a772-787b-4ac8-901f-60d6b08affd2' -SubjectId '25fca288-42e8-4ef3-8546-4305d7ba197c' -Type 'UserAdd' -AssignmentState 'Active' -schedule $schedule -reason "Powershell test"
That’s nicely formatted output from Runbook
Summary
Having so heavily protected service account with those few tools gives you great advantage against attackers 👨💻.
To make this solution better you can make Automation Account variables for roleID or configure PIM to send mail notification to desired distribution list with information that role has been assigned 📩
See you in next! 😉 🧠